Love & Letters
Wow, where does the time go? I was just sent a gentle reminder that it's been a while since my last blog post, and lo and behold, it's been over 2 months. Shameful! In my defense, I have been a bit preoccupied--new school year, new University classes, and....a new fiance. :) Who knew wedding planning was so time consuming?

One item on my recent to-do list was to find a nice frame for the engagement photos we had taken recently. While exploring one of the local stores, I came across a series of Letter Art posters that inspired me to create a new lesson for my desktop publishing students. Usually, I steal, modify, and combine existing lesson ideas, but I'm proud to say that this one is all mine! It doesn't take very long to complete (3-5 days, depending on your class and how creative you want to be), but the kids love it and learn lots of great skills. They get to use digital cameras and learn about macro mode, edit and enhance their photos in online photo-editing programs, and use MS PowerPoint to arrange, crop, and color tint their projects.
Below is the complete lesson, including directions, links, and samples. Feel free to steal, modify, and combine my lesson in any way you need--though if you share it with anyone else, please give them the link back to my blog.

Objective: Use a digital camera and PowerPoint to create a letter art mini-poster.
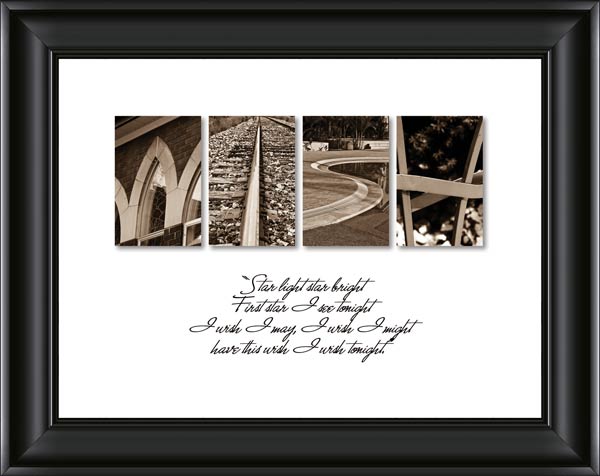
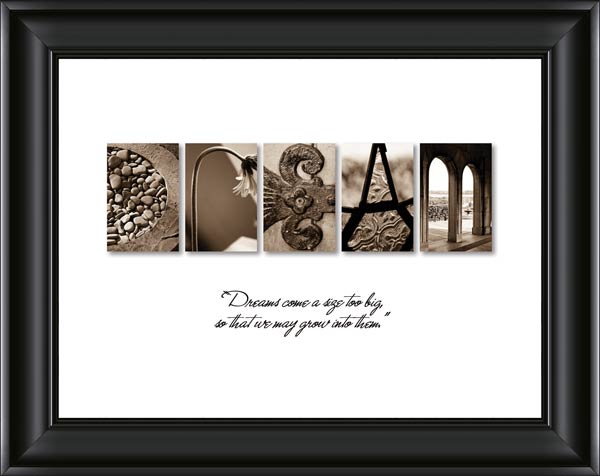
When you look close, everyday objects are often shaped in the forms of letters. Artists and photographers have used these letters to create fun signs and posters. Now it's our turn! We will be creating inspirational posters similar to the ones below:

STEP 1
Pick out a single word or name as the centerpiece for your mini-poster and write or find a quote to go with it. Visit Quoteland, Brainyquote, or Dictionary Quotes for inspiration. Once you have found your word and quote:
- Open Microsoft PowerPoint, and start a blank presentation.
- Create a text box on the bottom half of the page and type your quote. Be sure to include the author of the quote as well. (Write "Author Unknown" or something similar if no author could be found."
- Then choose a fancy font for your quote.
STEP 2
Take photos of each of the letters you will need.
We will start by looking for photo opportunities in our own classroom. We will then branch out and look in the cafeteria, library, and outside for more letters to photograph.
Look at the alphabets below for ideas on where to find letters to photograph!


When all your letters are done, arrange them on your slide in PowerPoint. Be sure that they are all the same size, and leave a small gap between the letters to make it easier to read (see samples above).
If you want your mini-poster printed, the background will need to be white.
STEP 3
Turn in your assignment through EDU.
If you want your mini-poster printed, write "Please Print" at the top of your reflection.
Your reflection should answer the following questions:
- What was easy or hard about the assignment?
- Did you enjoy this assignment? Why or why not?
- What new technology skills or software features did you learn during this project? Anything else you learned?
- Based on the rubric, how well do you think you did on his project? Explain.
Rubric
(Click on the rubric to view it in its entirety if your browser cuts it off.)

Some samples created by my students:


I hope you and your students will have as much fun with this project as we did!


Pretty cool and stretching creativity (alternative views of common things). Some results are awesome. I may try it one day... Thanks. Dorota
ReplyDeleteWhat browser did you use? Links to alphabets in Step two are not rendered properly neither in Firefox nor Explorer, but they work, i.e. are clickable. In Firefox they are tiny rectangles, in Explorer - regular size empty picture frames.
ReplyDeleteOn an Apple notebook in Safari it's the same as in Explorer. Any clue how to fix these?
Dorota
Hmmmm, thanks for letting me know. They used to display just fine. Should be fixed now. :)
ReplyDeleteThey are, indeed! What did you do? Reloaded the page? Why my account is not an option when I post? I did subscribe... Dorota
ReplyDeleteI just re-uploaded the images.... As for your account, are you signed in to Google when you post?
ReplyDelete